- 30 August 2024
- LiteManager 5.2 Two-factor authentication
-
Two-factor authentication (authorization) on the LM server using an LM code via email, via your personal SMTP server. New console app for Linux (daemon).
- 05 August 2022
- LiteManager update 5
-
NOIP authorization on LM Server. (NOIP as the central authorization server)
Managing LM Server settings on NOIP. (SSC NOIP) - 21 October 2021
- A new website design LiteManager.org
-
Litemanager — remote support software
- 31 May 2015
- LiteManager remote access tools
-
Free remote access over the Internet with IP or ID connection. QuickSupport mode works without installation for Windows. Demonstration and online Presentation.
Connect by ID
1. How to connect by ID
Setting up Server
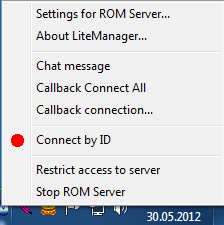
First, install LiteManager Server. After you install and start the server, choose Connect by ID from the context menu of the tray or from the program settings menu.
In the opened window, enter the desired ID for the server. If you do not specify the ID explicitly, then the program will generate a random ID when you press the Connect button.
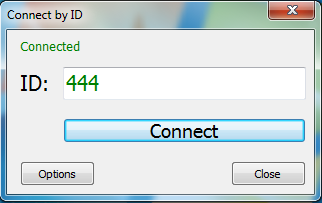
The connection status is shown in the status line. After executing the Connect command, the program displays the status of the connections. Connected status means that the connection with our server was successfully established.
Setting up viewer
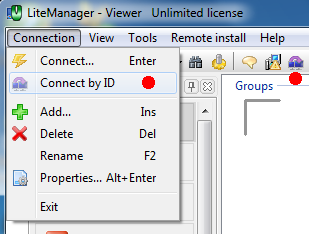
After you install the Viewer, choose Connect by ID command in the main window of the program.
In the opened window, enter the ID of the required server and press the Connect button.
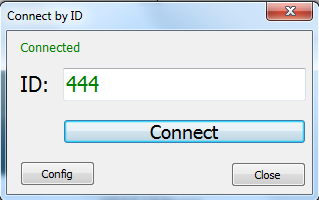
After that, the program will display the result of the operation in the status line and the connection established by ID will be added to the contact list.
2. Customizing advanced settings for the connection by ID
Additional server options
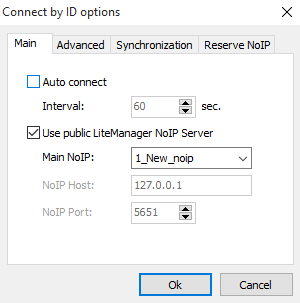
Auto connection — auto connection of the server in a specified time interval.
Use common NoIP server. If this option is enabled, the program will use the corporate LiteManager NoIP server. If the option is disabled, you must specify the IP address and Port of your NoIP server for connection. There are two common NOIP, new and old, highly recommended to use a New NOIP.
The ability to auto-generate ID.
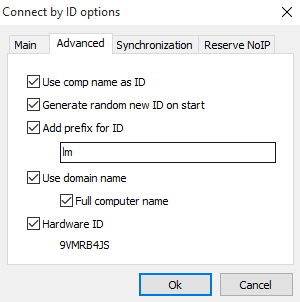
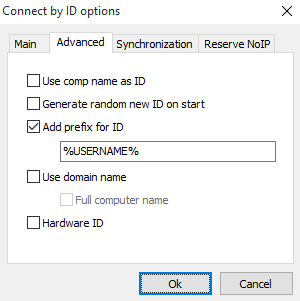
Use system variable as ID.
Additional Viewer options
Customize settings in the Connect by ID window.
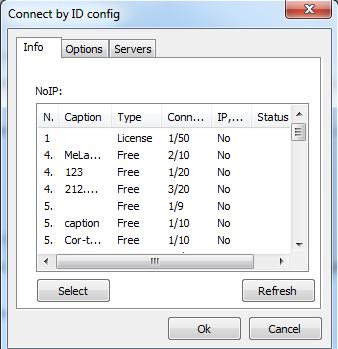
Under the Information tab, you can view the list of currently available NoIP servers and their parameters: license type, number of connections, availability of a filter. You can choose any server from the list by selecting it and pressing Choose. After that, the connection will be established to this NoIP server. On this tab, you can also see the NoIP server through which the current connection is made, if the program chose the NoIP server automatically.
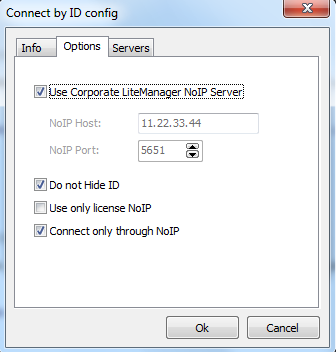
Use corporate NoIP server option —indicates that it is necessary to use the corporate LiteManager NoIP server. If the option is disabled you must specify the address of your NoIP.
Do not hide your ID. If this option is enabled, the ID of the server will be displayed on the NoIP server. By default, ID is hidden for security reasons, as the connection is made through proxy computers.
Use only licensed NoIP — when automatically connecting, the program will use only the licensed NoIP. This option is available only in the Pro version. The free version can not connect via a licensed NoIP server.
Connect only through NoIP — the connection will be made only through the NoIP and the program will not connect directly to the server, even if it is possible.
If there is a direct connection, the icon will have a yellowish tint.

3. Connect your NoIP to the global network
To allow other users to connect through your NoIP, open the Additional tab and select Open NoIP for other users check box and start NoIP.
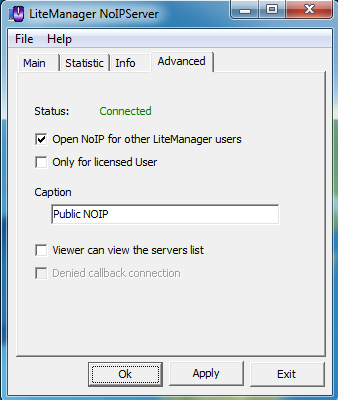
The status of connection of NoIP to the global network is also displayed in this window. Connected status means that you NoIP is available for other users.
Only for licensed users — this options indicates that NoIP is available only for licensed users, i.e., for users of the Pro version.
NoIP name — a NoIP description to be displayed to other users.
List of connected servers is available on Viewer — if this option is enabled, NoIP will provide a list of connected servers to Viewer.
Enable Do not allow callback connections through NoIP option, to not allow establishing callback connections through NoIP. Thus, only connections by ID will be made through NoIP.
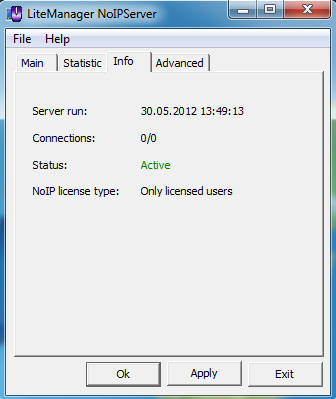
When you connect your NoIP to the global network, its license type changes to free. This allows you to connect through that NoIP server when using Viewer of the Free version.

