- 30 August 2024
- LiteManager 5.2 Two-factor authentication
-
Two-factor authentication (authorization) on the LM server using an LM code via email, via your personal SMTP server. New console app for Linux (daemon).
- 05 August 2022
- LiteManager update 5
-
NOIP authorization on LM Server. (NOIP as the central authorization server)
Managing LM Server settings on NOIP. (SSC NOIP) - 21 October 2021
- A new website design LiteManager.org
-
Litemanager — remote support software
- 31 May 2015
- LiteManager remote access tools
-
Free remote access over the Internet with IP or ID connection. QuickSupport mode works without installation for Windows. Demonstration and online Presentation.
Configure Private NOIP
The NOIP application is designed for interconnecting the Viewer client module and the Server module by ID, the program is free of charge and is supplied with the Viewer client module. (Configure private NOIP - Video)
To set up and customize your own NOIP for corporate needs, run the application on a computer with a static IP address so that the application would be available for connections from the Viewer and the Server. If you have a Free version of the program, NOIP must be open to other users, i.e., made free.
(for a static IP address, you usually need to configure port forwarding on the router)
Run NOIP from the Start menu or from the directory where the Viewer is installed. NOIP main window.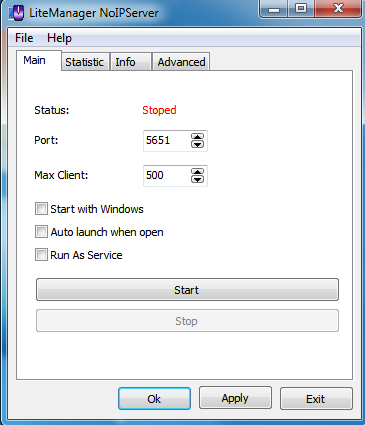
On the Main tab, you can change the port for security purposes, and set the maximum number of client data transmission channels to limit the load on NOIP.
If you expect the work to be performed through the Free version of the Viewer, the NOIP must be made free, open it to other users by checking the box Open to other users, and entering the NOIP name on the Advanced tab.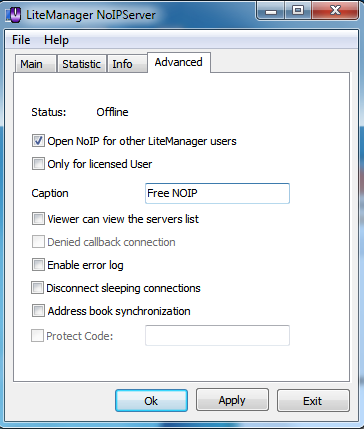
To start NOIP just click Start on the Main tab.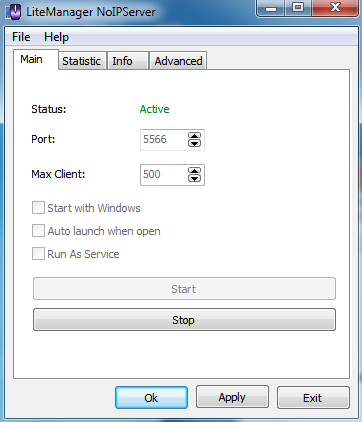
Now connect the remote Server module to NOIP by opening the ID Connections window on the server, and specifying your custom NOIP in the options. To do this uncheck Use public NOIP and enter the IP and port of your personal NOIP. Click Connect.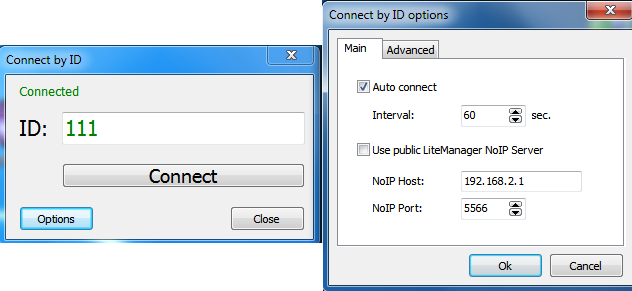
In case of a successful connection the NOIP statistics must have a new record about the connected server. For your convenience, display all connections in the statistics by checking All Connections.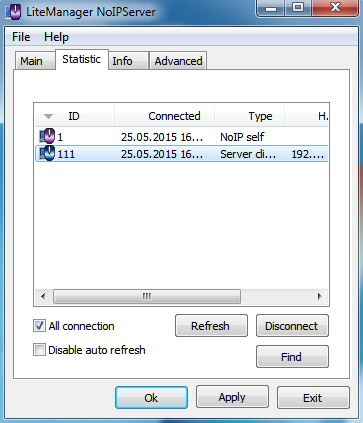
Set up a connection from the client Viewer module. Open the ID Connection window and enter your own NOIP in the Settings on the Options tab. To do this uncheck Use public NOIP and enter your own NOIP data. Enable the option Do not hide my ID to display the ID in the NOIP statistics, and click Ok to save the changes.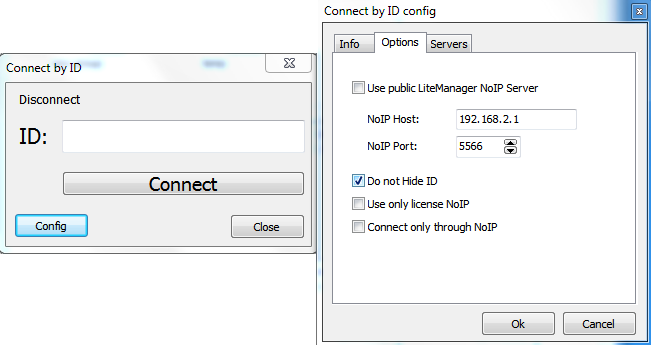
Enter the server ID in the ID Connection window and connect by clicking on the Connect button.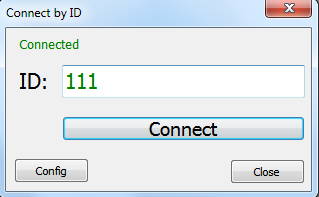
A new contact will be automatically added to the list of connections.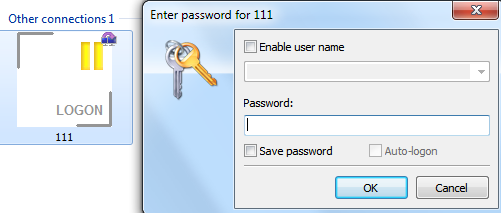
The NOIP statistics tab will display the record about a data transmission connection established between Viewer and Server.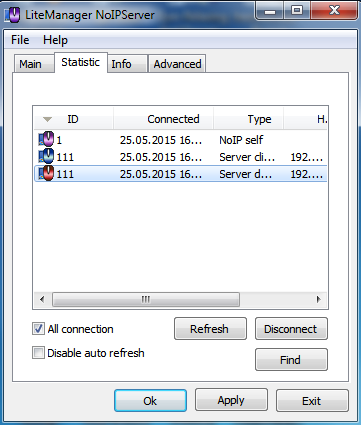
On the Information tab, you can find general information about the number of connected servers (control connections) and channels for data transmission (data connections).
The Information tab still displays information about the type of NOIP license: licensed type for operation exclusively through the Pro version or a free type for working through Free and Pro versions of the Viewer.
If NOIP is not open for other users, the tab will display a licensed type.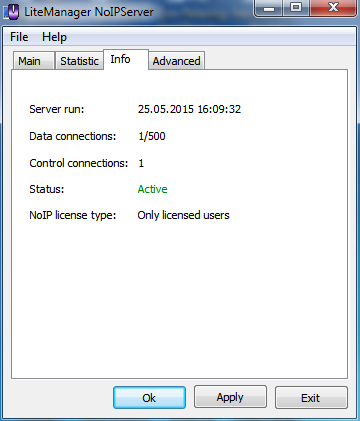
If NOIP is open for other users, the tab will display a free type.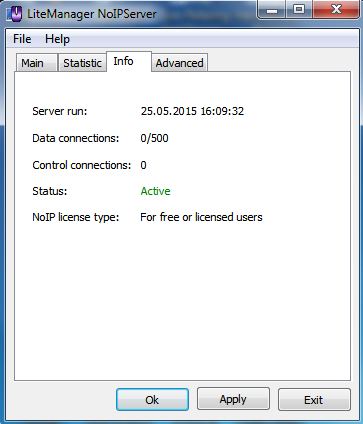
Additional help information

