News
- 30 August 2024
- LiteManager 5.2 Two-factor authentication
-
Two-factor authentication (authorization) on the LM server using an LM code via email, via your personal SMTP server. New console app for Linux (daemon).
- 05 August 2022
- LiteManager update 5
-
NOIP authorization on LM Server. (NOIP as the central authorization server)
Managing LM Server settings on NOIP. (SSC NOIP) - 21 October 2021
- A new website design LiteManager.org
-
Litemanager — remote support software
- 31 May 2015
- LiteManager remote access tools
-
Free remote access over the Internet with IP or ID connection. QuickSupport mode works without installation for Windows. Demonstration and online Presentation.
Quick start
Make sure that Server is running on the remote computer and you know the IP address or ID of this computer.
Use Add new connection item in the main list.
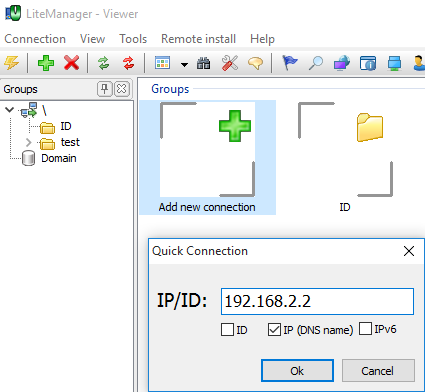
Use Main menu — Quick connection or Connect by ID.
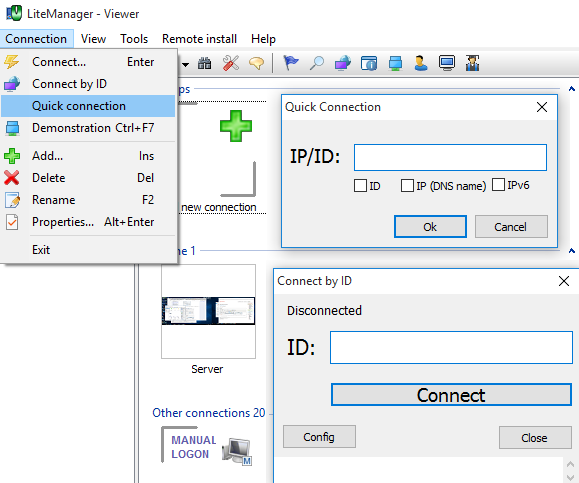
Steps:
- Press <Ins> in the main Viewer window to add a new connection or use Main menu — Connection — Add. Specify a name for this connection and the IP address in the new dialog box (e.g. 192.168.0.1) or the DNS (NetBIOS) name (e.g. comp1.corporation.com). Click «OK».
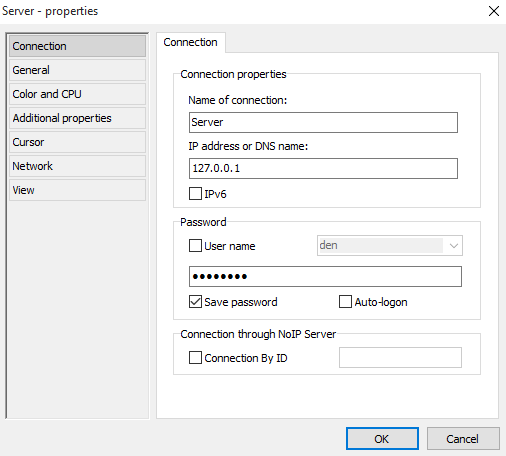
Properties of the new connection
- You will see the created connection in the main Viewer window. Select this connection and press <Enter>.
- If the remote computer is protected with a password, you will see the password dialog box. The «Save password» checkbox means that you will not have to enter the password next time you try to authorize on the server, but the program will type it automatically. The «Auto-logon» checkbox means that next time you start the program, the authentication procedure will be carried out automatically. This feature will work only if the «Save Password» checkbox is selected as well. Use user name if need connect via virtual User, defined in the server's security Permissions LM.
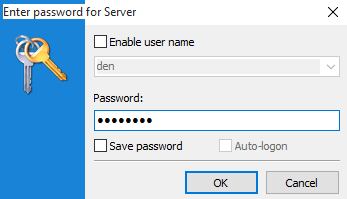
Enter password
- If the Windows system security (Windows NTLM) protection is enabled on the remote computer, you will see the dialog box where you should enter the authentication data.
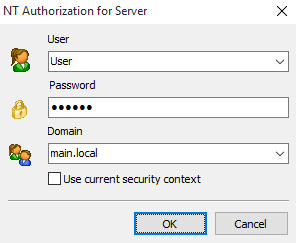
- Fill out the form and click «OK» or Use current security context if it need.

