- 30 August 2024
- LiteManager 5.2 Two-factor authentication
-
Two-factor authentication (authorization) on the LM server using an LM code via email, via your personal SMTP server. New console app for Linux (daemon).
- 05 August 2022
- LiteManager update 5
-
NOIP authorization on LM Server. (NOIP as the central authorization server)
Managing LM Server settings on NOIP. (SSC NOIP) - 21 October 2021
- A new website design LiteManager.org
-
Litemanager — remote support software
- 31 May 2015
- LiteManager remote access tools
-
Free remote access over the Internet with IP or ID connection. QuickSupport mode works without installation for Windows. Demonstration and online Presentation.
Tickets system (HelpDesk service)
Tickets system must be enabled in the options on the server side.
Open settings for LM-server.
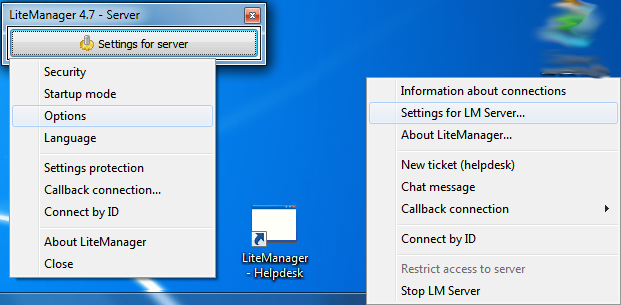
On the «Tickets» tab, check the checkbox «Enable tickets».

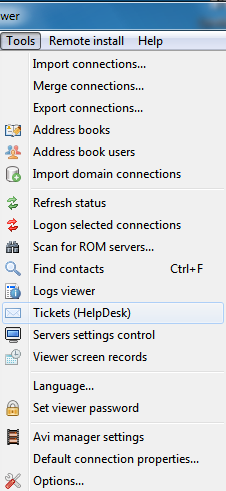
On the client-side Viewer, open the main Tickets window, using the Main menu — Tools — Tickets (HelpDesk).
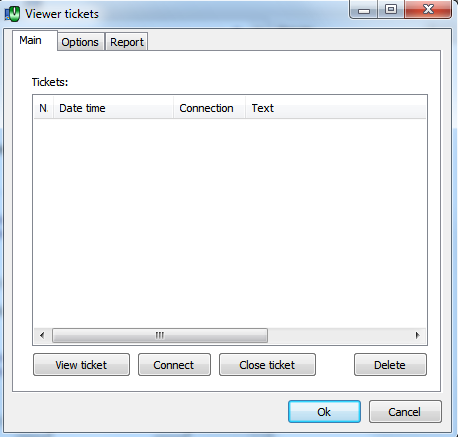
The window of viewer tickets is empty now, because the ticket is not received yet.
Enable the tickets system on the Viewer side on the options tab by check the option „Enable tickets system“ and enter the name of the recipient, for example „administrator“. You must specify which contacts will be use the tickets, the easiest way to enable tickets for all contacts. When you enable Tickets synchronization through NOIP, they are automatically activated for all contacts.
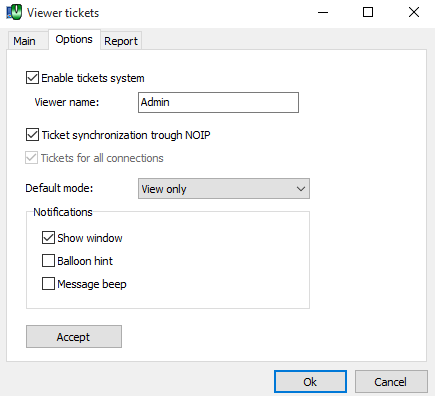
Use tickets synchronization on NOIP, Viewer and Server.
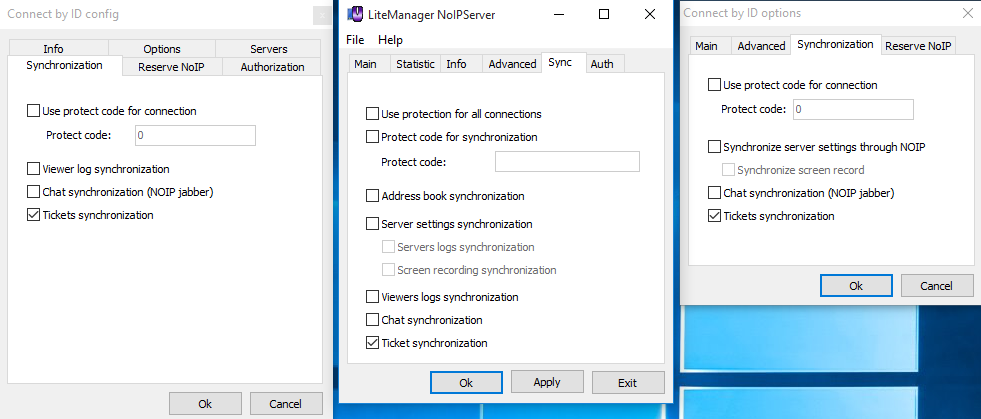
Everything is ready, the user can now create a ticket and send it to the recipient, a new ticket window can be opened from the context menu of server item „New ticket (HelpDesk)“.

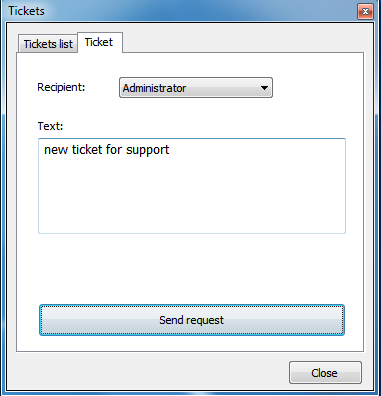
To create a new ticket click „New ticket“, enter the text and click send request. In the list of recipients, select the recipient, if there is several recipients.
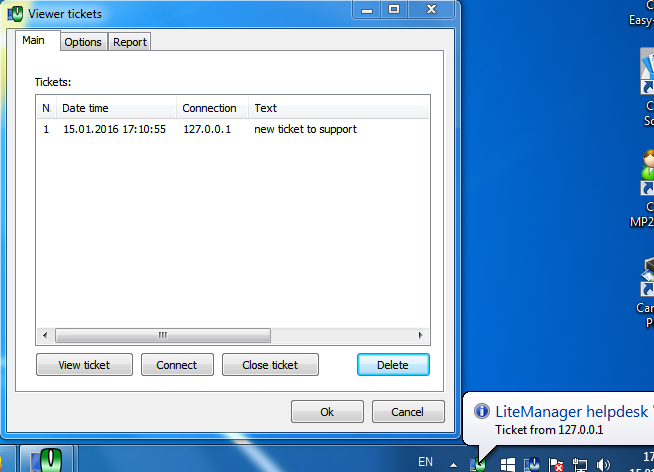
The recipient Viewer will receive this ticket.
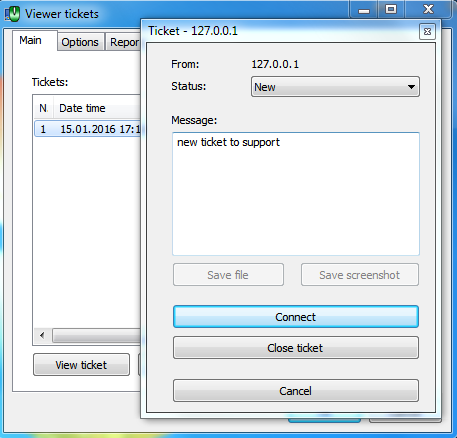
Then you can open the ticket and connect to a remote computer.
Additional information

