- 05 January 2024
- LiteManager 5.1 for Linux, Mac OS, Android with inbuilt LM Server and NOIP.
-
Control remotely your Linux and Mac, available remote screen and files modes. Android screen in view only mode.Built-in NOIP for Linux.
- 05 August 2022
- LiteManager update 5
-
NOIP authorization on LM Server. (NOIP as the central authorization server)
Managing LM Server settings on NOIP. (SSC NOIP) - 21 October 2021
- A new website design LiteManager.org
-
Litemanager — remote support software
- 31 May 2015
- LiteManager remote access tools
-
Free remote access over the Internet with IP or ID connection. QuickSupport mode works without installation for Windows. Demonstration and online Presentation.
Screen recorder
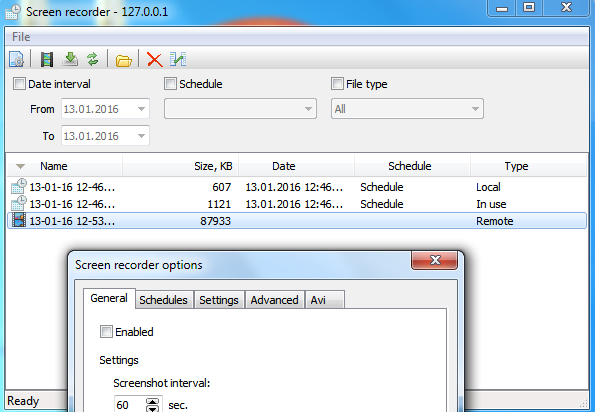
The «Screen recorder» mode allows you to monitor user activity completely independently of Viewer.
Open popup menu of contact select the Other modes — Screen recorder menu.
Screen recorder main window.
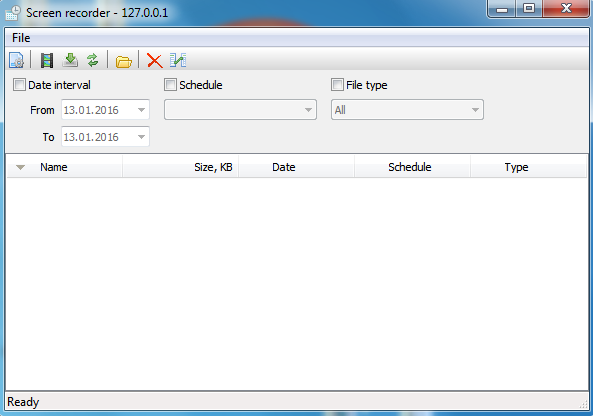
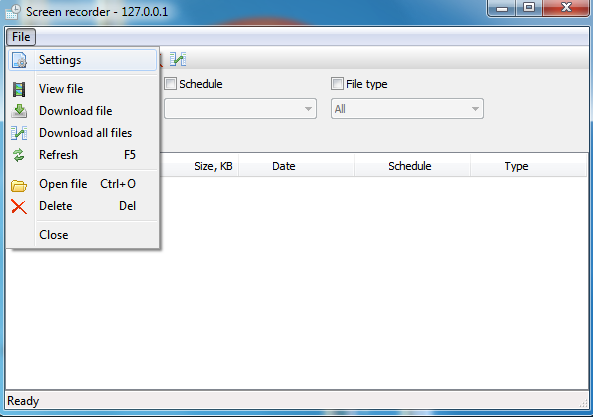
To enable screen recording, you must open the settings of the screen recorder, select the main menu item «File», «Settings», the settings are also placed on the toolbar under the main menu as a separate button.
Check the «Enabled» to activate screen recording with default settings.
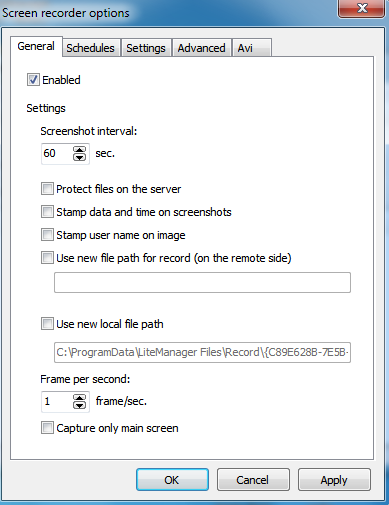
Click «OK».
After the recording was enabled in the main recording window screen we can see the file in which record data. To view it, select the file entry in the list, and using double click or from the main menu item «View file» to open it.
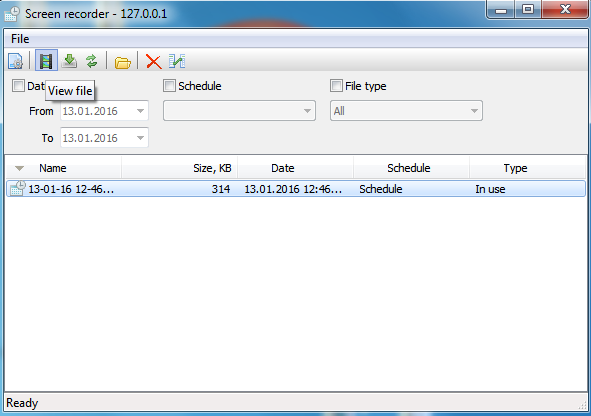
The viewer of screen records is looks like a video player, to work with him will be easy.
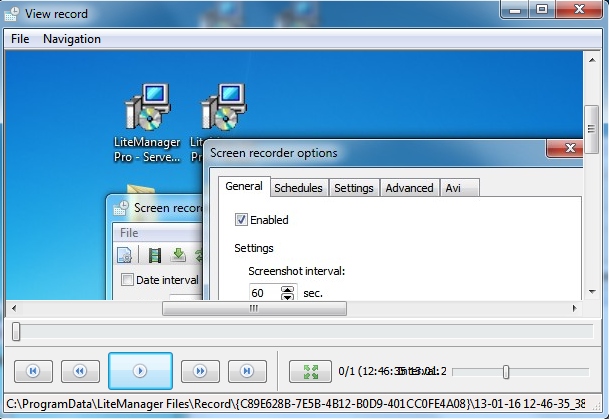
To stop recording, open the recording setup screen and uncheck the «enabled» option.
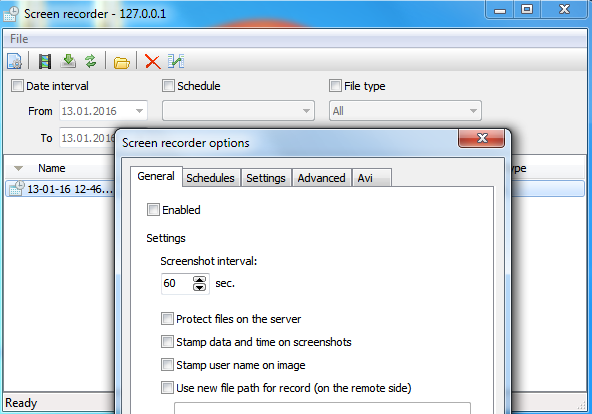
If you update the list of records by pressing F5 or similar to call the menu item «Update», after viewing the record in the list you will see two files with the same name, one of whom will be of type «Local», it is an copy file that was uploaded to view the recording.
In order to enable recording in Avi format, you need to go to settings and on the Avi tab, check the option «Enable Avi file format», then on the General tab check «Enable» option to start recording.
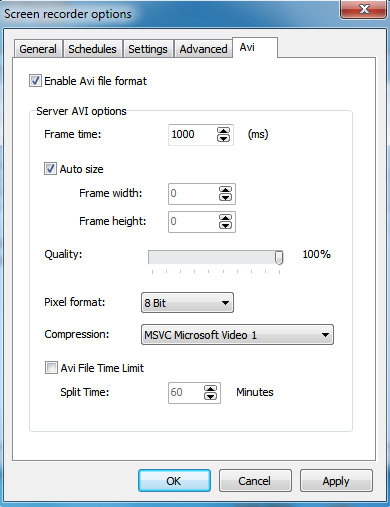
After clicking «Ok», in the list to appear the recording file in Avi format.
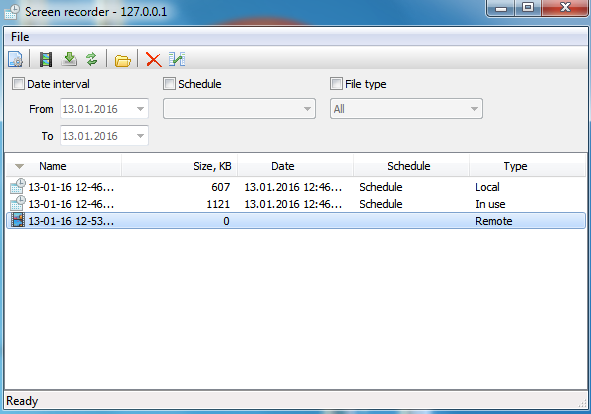
In the process of recording the Avi file is locked the program, so to view it, you must first disable the screen recording process, after you can view the file.
Additional information

